Remote SSH Raspberry Pi over the Internet has become an essential skill for tech enthusiasts and professionals alike. Whether you're managing a home server or running a business, being able to access your Raspberry Pi remotely can significantly enhance your productivity. In this guide, we will delve into the world of remote SSH, exploring its benefits, challenges, and solutions. By the end of this article, you'll have the knowledge and tools to securely connect to your Raspberry Pi from anywhere in the world.
As remote work and IoT applications continue to grow, the demand for remote access to devices like the Raspberry Pi is skyrocketing. This tiny yet powerful computer can serve as a server, media center, or even a security system. However, accessing it from outside your local network requires careful planning and execution.
With the right setup, you can control your Raspberry Pi as if you were physically present. This guide will walk you through the steps to achieve this, ensuring your connection remains secure and reliable. Let's dive in!
Read also:Skip The Games Olympia A Comprehensive Guide To Navigating The World Of Fitness Without Competitions
Table of Contents
- Introduction to SSH
- Raspberry Pi Basics
- Why Use Remote SSH?
Setting Up SSH on Raspberry Pi
- Port Forwarding
Using Dynamic DNS
- Securing Your Remote Access
Troubleshooting Tips
- Alternative Methods
- Conclusion
Introduction to SSH
Secure Shell (SSH) is a network protocol that allows you to securely connect to remote devices over an unsecured network. It provides a safe and encrypted way to communicate with your Raspberry Pi, ensuring that your data remains private and protected. SSH is widely used in the tech industry due to its robust security features and ease of use.
When it comes to remote SSH Raspberry Pi over the Internet, understanding the basics of SSH is crucial. You'll need to know how to enable SSH on your Raspberry Pi, configure your router, and set up security measures to protect your device from unauthorized access.
SSH operates on port 22 by default, but you can change this to enhance security. Additionally, using SSH keys instead of passwords can provide an extra layer of protection. We'll explore these topics in more detail later in this guide.
Raspberry Pi Basics
The Raspberry Pi is a single-board computer that has gained immense popularity due to its affordability and versatility. It can be used for a wide range of applications, from learning programming to building complex systems. Before diving into remote SSH Raspberry Pi over the Internet, let's cover some essential basics.
First, ensure your Raspberry Pi is up and running with the latest version of Raspberry Pi OS. This operating system is specifically designed for the Raspberry Pi and provides all the necessary tools and utilities for managing your device.
Additionally, make sure your Raspberry Pi is connected to a stable internet connection. A wired connection is recommended for better performance and reliability, especially when accessing your device remotely.
Read also:Sierralisabeth Of Elak A Comprehensive Guide To Her Life Achievements And Legacy
Why Use Remote SSH?
Remote SSH Raspberry Pi over the Internet offers several advantages that make it an attractive option for users:
- Convenience: Access your Raspberry Pi from anywhere in the world without needing physical access.
- Flexibility: Manage and control your device remotely, whether you're at home, at work, or on vacation.
- Security: SSH provides an encrypted connection, ensuring your data remains safe from prying eyes.
- Cost-Effective: Eliminate the need for expensive hardware or software solutions to manage your devices.
Whether you're a hobbyist or a professional, remote SSH can simplify your workflow and enhance your productivity.
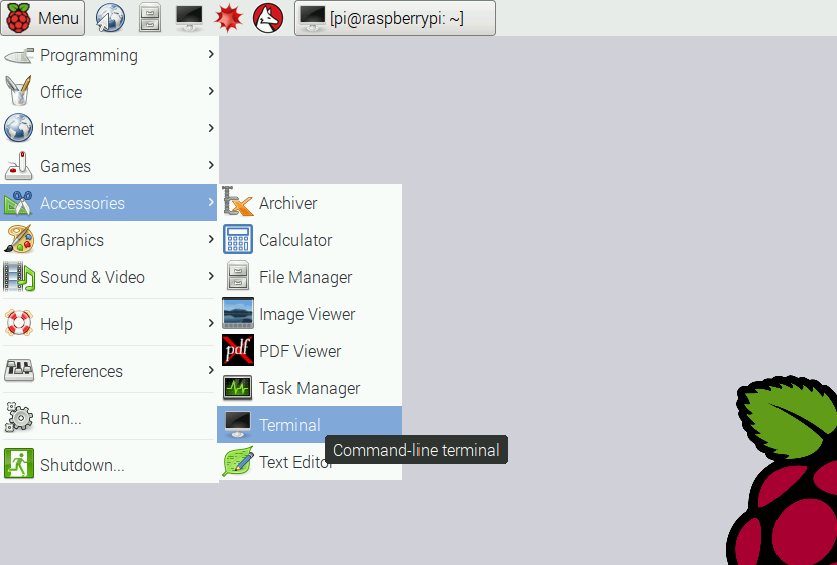
Setting Up SSH on Raspberry Pi
Enabling SSH on your Raspberry Pi is a straightforward process. Follow these steps to get started:
- Power on your Raspberry Pi and log in to the operating system.
- Open the terminal and type the following command:
sudo raspi-config. - Navigate to "Interfacing Options" and select "SSH".
- Choose "Yes" to enable SSH and then exit the configuration menu.
- Reboot your Raspberry Pi to apply the changes.
Once SSH is enabled, you can connect to your Raspberry Pi using an SSH client like PuTTY (for Windows) or the built-in terminal on macOS and Linux.
Verifying SSH Status
After enabling SSH, you can verify its status by typing the following command in the terminal:
sudo service ssh status
This will display information about the SSH service, including whether it is active or inactive.
Port Forwarding
To access your Raspberry Pi remotely, you'll need to configure port forwarding on your router. This process involves directing incoming traffic on a specific port to your Raspberry Pi's local IP address.
Here's how to set up port forwarding:
- Log in to your router's admin interface using a web browser.
- Locate the "Port Forwarding" or "Virtual Server" section.
- Create a new rule and specify the following details:
- Service Name: SSH
- External Port: 22 (or a custom port for added security)
- Internal IP Address: Your Raspberry Pi's local IP address
- Internal Port: 22
- Save the changes and restart your router if necessary.
Port forwarding allows you to bypass your router's firewall and establish a direct connection to your Raspberry Pi.
Using Dynamic DNS
What is Dynamic DNS?
Dynamic DNS (DDNS) is a service that automatically updates your domain name with your changing IP address. This is particularly useful if your Internet Service Provider assigns a dynamic IP address to your router.
By using DDNS, you can assign a static domain name to your Raspberry Pi, making it easier to connect remotely.
Setting Up DDNS
Follow these steps to set up DDNS for your Raspberry Pi:
- Sign up for a DDNS service like No-IP or DuckDNS.
- Create a hostname or subdomain for your Raspberry Pi.
- Install the DDNS client on your Raspberry Pi and configure it with your account details.
- Test the connection by pinging your hostname from a remote location.
With DDNS configured, you can access your Raspberry Pi using a consistent domain name, even if your IP address changes.
Securing Your Remote Access
Security should always be a top priority when setting up remote SSH Raspberry Pi over the Internet. Here are some best practices to protect your device:
- Change the Default SSH Port: Modify the default SSH port (22) to a custom port to reduce the risk of brute-force attacks.
- Use SSH Keys: Replace password authentication with SSH keys for stronger security.
- Enable Firewall Rules: Configure your firewall to allow SSH traffic only from trusted IP addresses.
- Regularly Update Your System: Keep your Raspberry Pi OS and software up to date to patch vulnerabilities.
Implementing these measures will help safeguard your Raspberry Pi from unauthorized access.
Generating SSH Keys
To generate SSH keys on your Raspberry Pi, follow these steps:
- Open the terminal and type the following command:
ssh-keygen. - Follow the prompts to create a key pair, specifying a passphrase for added security.
- Copy the public key to your authorized_keys file using the command:
cat ~/.ssh/id_rsa.pub >> ~/.ssh/authorized_keys.
With SSH keys in place, you can log in to your Raspberry Pi without entering a password.
Troubleshooting Tips
Common Issues and Solutions
Even with careful setup, you may encounter issues when trying to connect to your Raspberry Pi remotely. Here are some common problems and their solutions:
- Unable to Connect: Double-check your port forwarding settings and ensure your Raspberry Pi's IP address hasn't changed.
- Connection Refused: Verify that SSH is enabled and the service is running on your Raspberry Pi.
- Authentication Failure: Confirm that your SSH keys are correctly configured and the passphrase matches.
If you're still having trouble, consult your router's documentation or seek assistance from online forums.
Alternative Methods
While SSH is the most popular method for remote access, there are other options you can consider:
- TeamViewer: A user-friendly remote desktop solution that works across multiple platforms.
- VNC: A graphical remote access protocol that allows you to control your Raspberry Pi's desktop interface.
- Cloud Services: Hosting your Raspberry Pi applications on cloud platforms like AWS or Google Cloud can provide scalable and secure remote access.
Each method has its own advantages and disadvantages, so choose the one that best fits your needs.
Conclusion
Remote SSH Raspberry Pi over the Internet is a powerful tool that can transform the way you manage and interact with your devices. By following the steps outlined in this guide, you can securely connect to your Raspberry Pi from anywhere in the world.
Remember to prioritize security and regularly update your system to protect against potential threats. If you encounter any issues, don't hesitate to reach out to the Raspberry Pi community for support.
We hope this guide has been informative and helpful. Feel free to leave a comment below or share this article with others who might find it useful. Happy tinkering!